How to Set up a GoDEX Printer on Windows
Installing the GoDEX Driver
- Download the latest drivers for your printer by visiting GoDEX's Support page.
- Click on ‘by file type.
- Select driver.
- Then select the appropriate download.

Installing QZ Tray
- Download and install QZ Tray from QZ Tray's website.
- Run QZ Tray and click on QZ Tray from your toolbar.
- Make sure ‘Start Automatically’ is checked.

Setting up the GoDEX Printer
- Turn on the GoDEX printer and connect the printer to your computer using the provided USB cord.
- Open Printers and scanners on your Windows machine and click Add a printer or scanner.
- If the GoDEX does not appear, click on ‘The printer that I want isn’t listed’ and then Add a local printer or network printer with manual settings, click Next and choose the appropriate port.
- Select GoDEX as the manufacturer and your specific GoDEX model from the Printers list.
- You can use the driver that is currently installed or update the driver as necessary.
- Name the printer if you would like to distinguish between different areas (e.g. - Kids Check-In area).
- Follow the remaining set up prompts.
Connecting the GoDEX printer to Check-In
- Open Check-In, choose a setup and select Zebra/Godex from the list.

- When running Check-In for the first time you should receive the below pop-up message from QZ Tray. Select ‘Remember this decision’ within the pop-up window.

Tip: If you do not receive the pop-up message, make sure your pop-up blocker is disabled and re-launch Check-In.
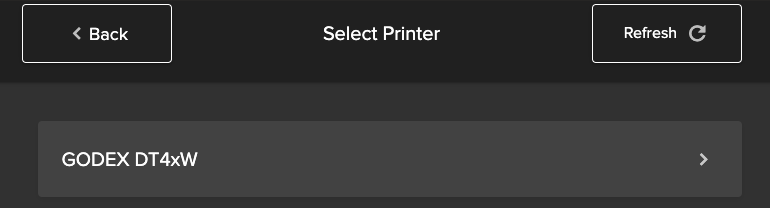
- Select your printer from the list and continue to Check-In.
https://support.pushpay.com/