Setting up GoDEX on Mac
Installing the GoDEX Driver
- Download the latest drivers for your printer by visiting GoDEX's Support page.
- Click on ‘by file type.
- Select driver.
- Then select the appropriate download.

Installing QZ Tray
- Download and install QZ Tray from QZ Tray's Website.
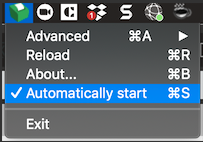
- Run QZ Tray and click on QZ Tray from your toolbar.
- Make sure ‘Start Automatically’ is checked.
Setting up the GoDEX Printer
- Add the GoDEX printer to your printer list.
- Plug in your GoDEX printer and connect the USB cord from the printer to the Mac.
- In your Mac System Settings, open Printers & Scanners.
- Click on the plus symbol to add the GoDEX.
- Select your GoDEX from the list.
- For ‘Use:’ select Other.
- Navigate to Library -> Printers -> PPDs -> Contents -> Resources -> and select your GoDEX model and then click Add.

Connecting the GoDEX printer to Check-In
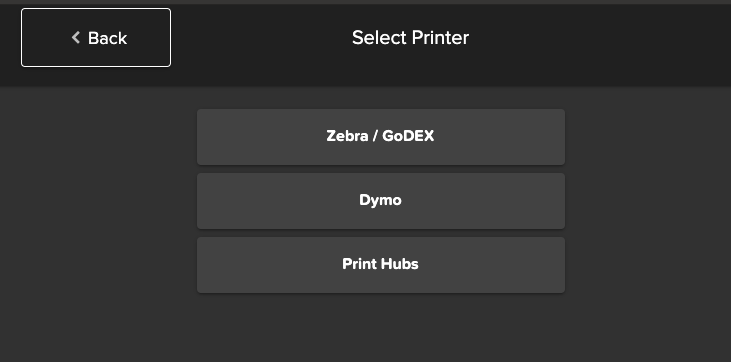
- Open Check-In, choose a setup and select Zebra/Godex from the list.
- When running Check-In for the first time you should receive the below pop-up message from QZ Tray. Select ‘Remember this decision’ within the pop-up window.

Tip: If you do not receive the pop-up message, make sure your pop-up blocker is disabled and re-launch Check-In.
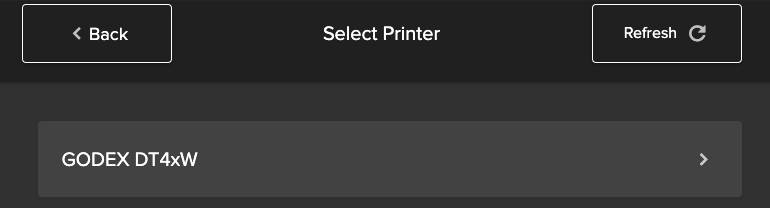
- Select your printer from the list and continue to Check-In.